After living with my computer in the lounge for a while I decided I would convert
my loft space into more friendly accommodation with a view to moving my computer
up there out of the way. My loft is pretty big with the apex nearly 13 feet high
in the centre. The floor area is approximately 25 feet by 24 feet with only a
few supporting cross beams. There were a few beams perpendicular to the rafters
running across the loft which presumably had been used as spacers when the
rafters were laid. Being reluctant to do anything that could affect the structure
of the roof I decided the best way to achieve a level floor was to raise the level
of the rafters by four inches by laying beams perpendicular to the rafters and
parallel with the beams in question. Instead of having a deep hole around the
loft opening. I opted for a split level floor and used skirting board to give
a nice finish between the levels. I worked my way alongside one half of the loft
then came back along the other side in a circular manner. Along the way I had to
work with wood, floorboards, electrics, cladding and even lay some carpet.
It was a big project and took 4 months to complete with me working on it most
days from November 2003 to February 2004. This is what I came up with...
(Tip: Click on any photo to view it in large format)
|
|
|
|
My maisonette from the outside. The loft slopes in from 3 sides with a brick wall in the middle
|
|
|
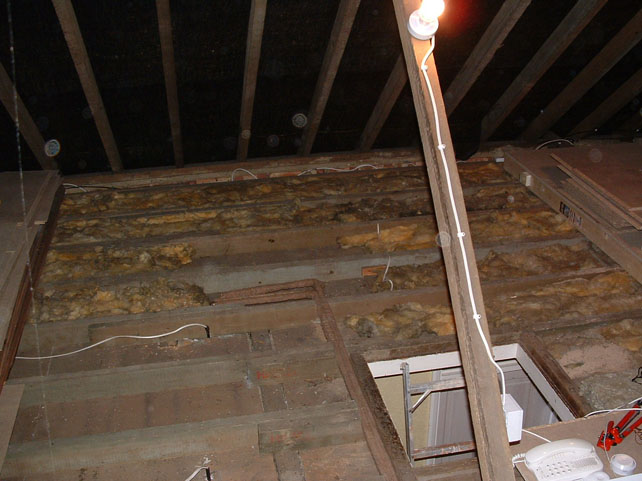
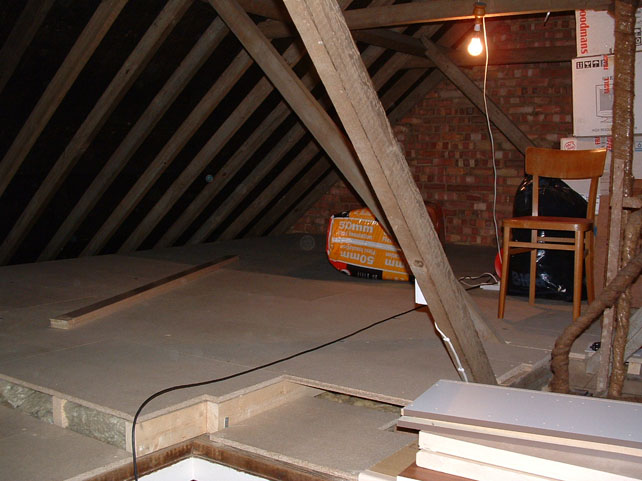
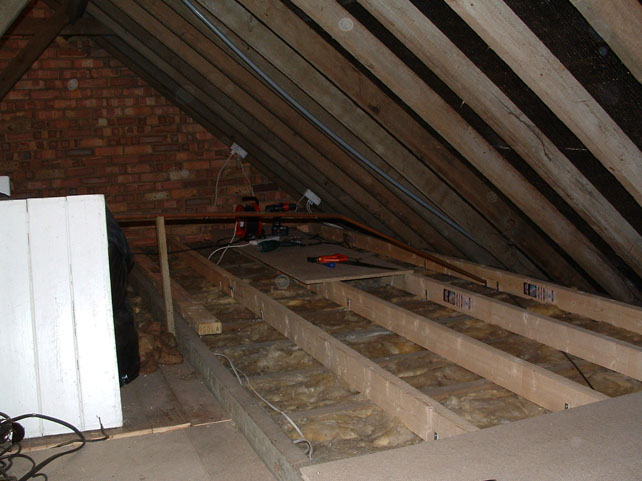
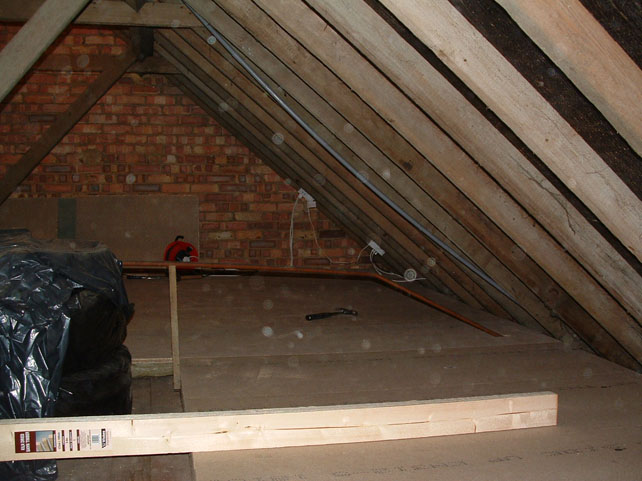
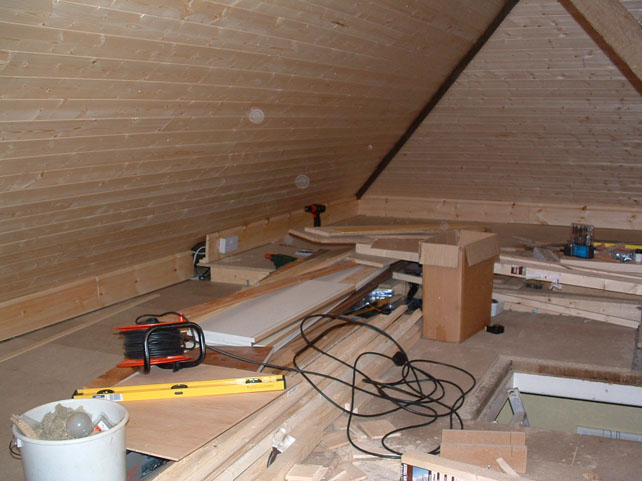
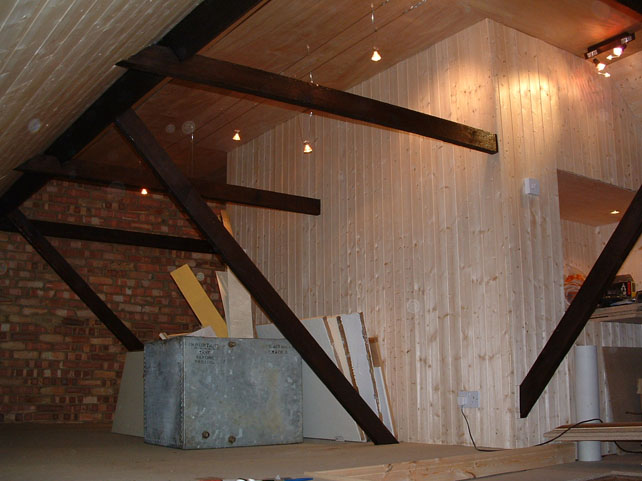
The darker coloured beam is one of the beams that was already running across the loft. To have a level floor I laid more beams across the rafters
|
|
|
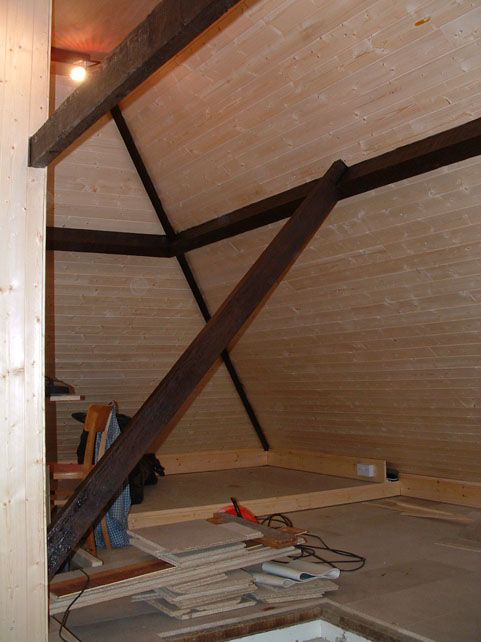
Once the first beams were in place I began laying floorboards. The loft falls nicely into 3 sections 8 foot wide. This is section 1 (my bedroom)
|
|
|
|
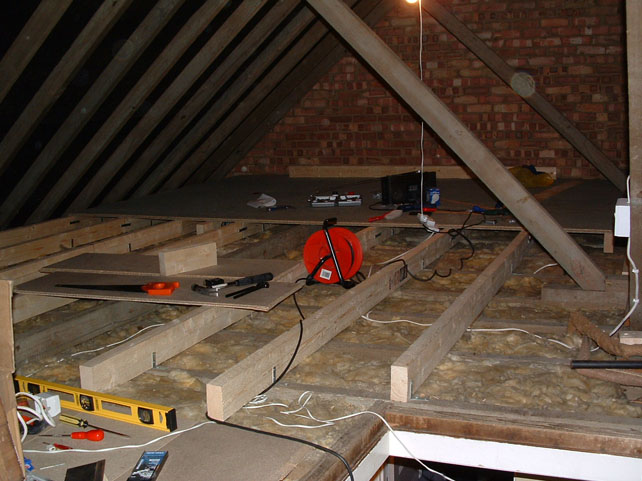
Laying beams for section 2 (over my bedroom and the hallway)
|
|
|
Section 2 viewed from section 1
|
|
|
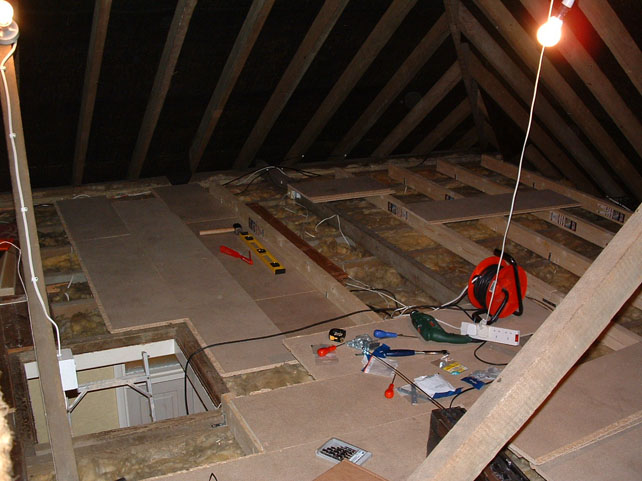
The 4x2 beams were fastened down with 4 angle brackets along their length
|
|
|
|
One of the more unusual supports required for the floorboards to avoid water pipes
|
|
|
Beams between sections were fastened together with straight fasteners
|
|
|
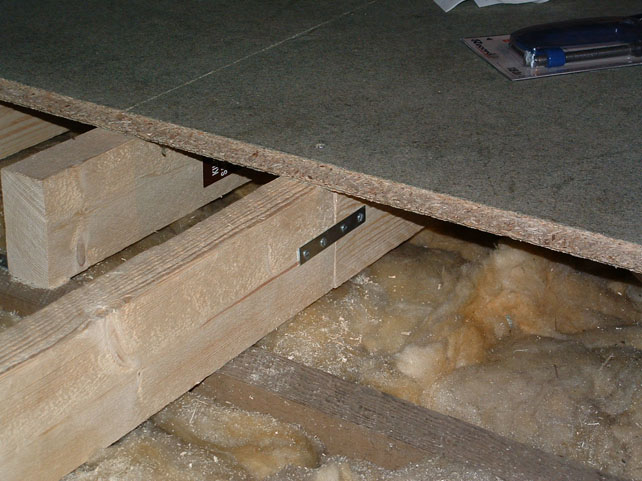
Close up view of fastener between beams
|
|
|
|
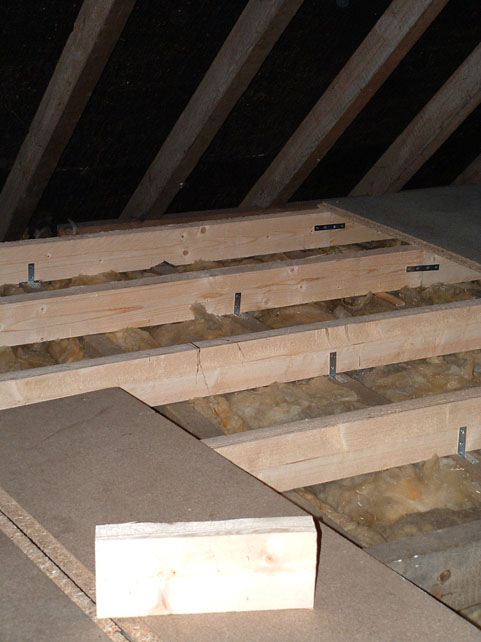
Laying the beams for section 3 (above guest room)
|
|
|
View over kitchen roof (section 3 of second half of loft)
|
|
|
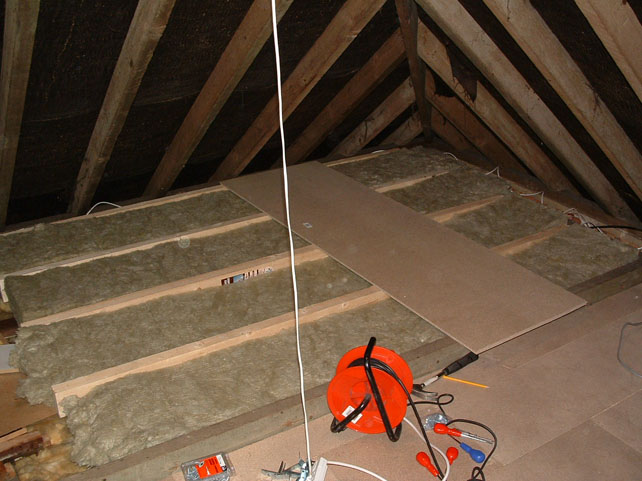
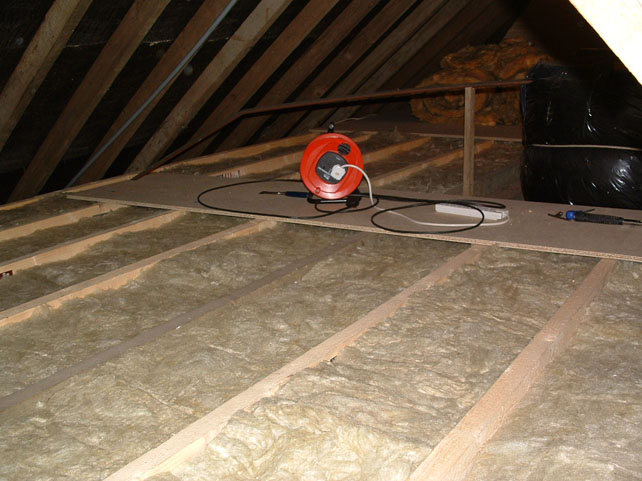
Laying insulation (4 inches) between the new beams added
|
|
|
|
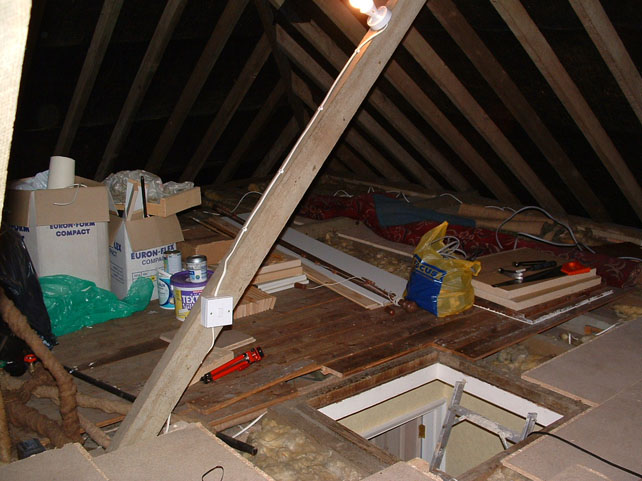
Laying floorboards in section 2 and 3 (first half)
|
|
|
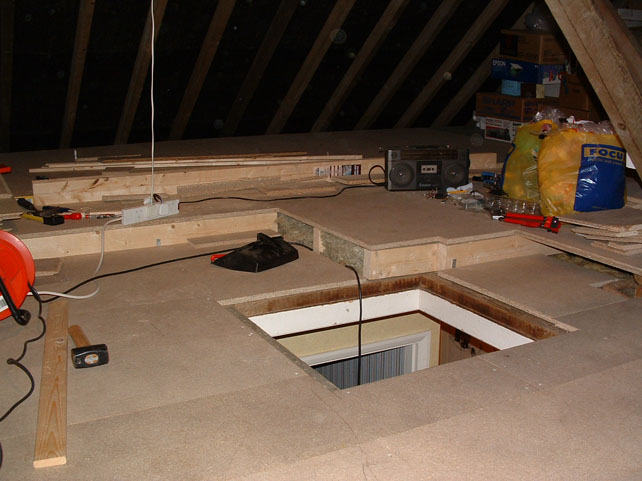
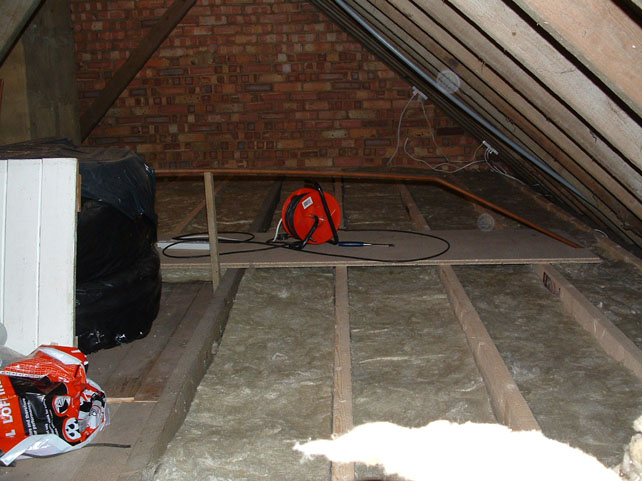
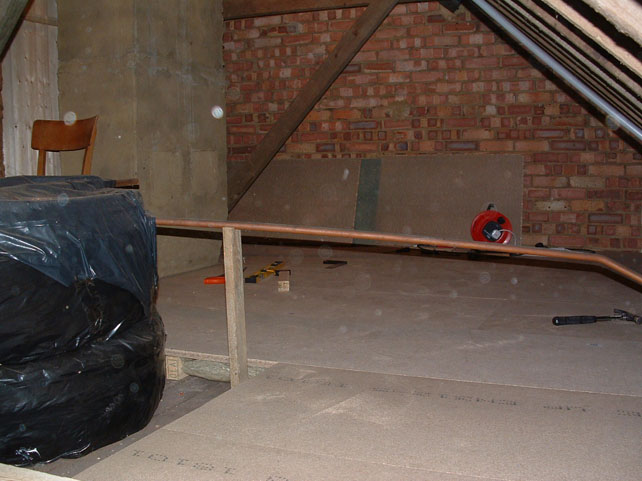
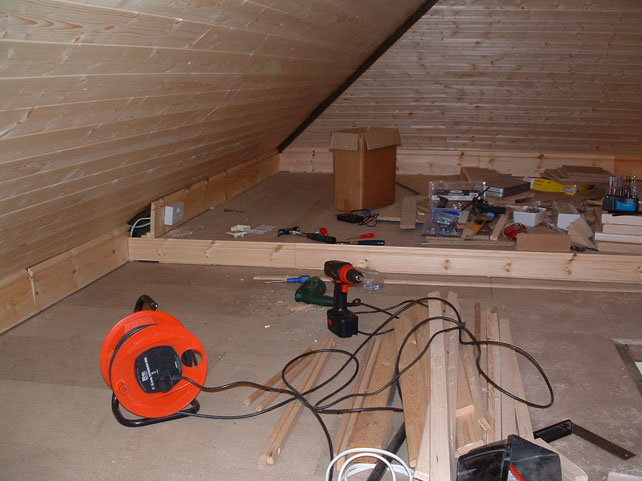
View of section 3 and the lower section around the loft opening
|
|
|
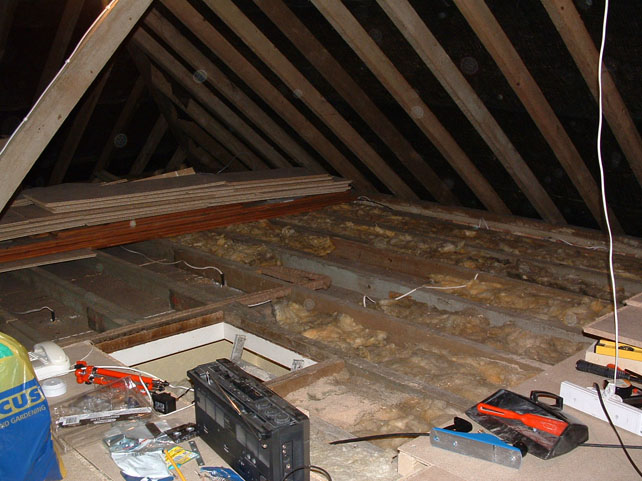
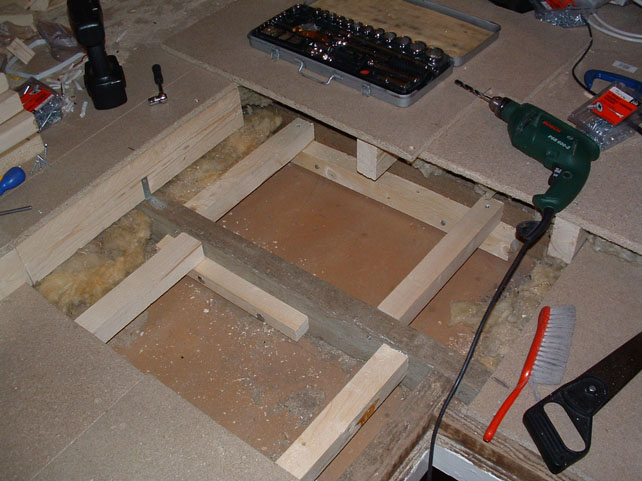
Low section around loft opening before insulation was replaced
|
|
|
|
Low section around loft opening before insulation was replaced
|
|
|
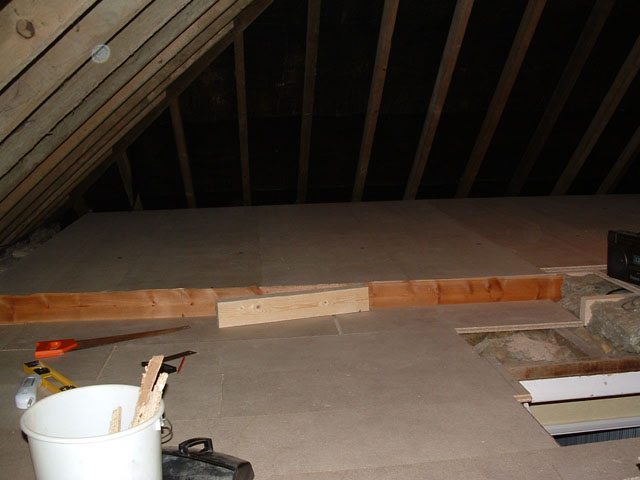
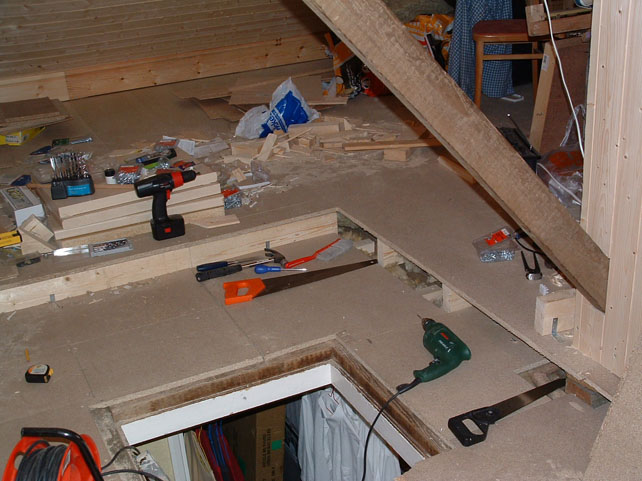
Working on floorboards for the low section (only temporarily in place at this point)
|
|
|
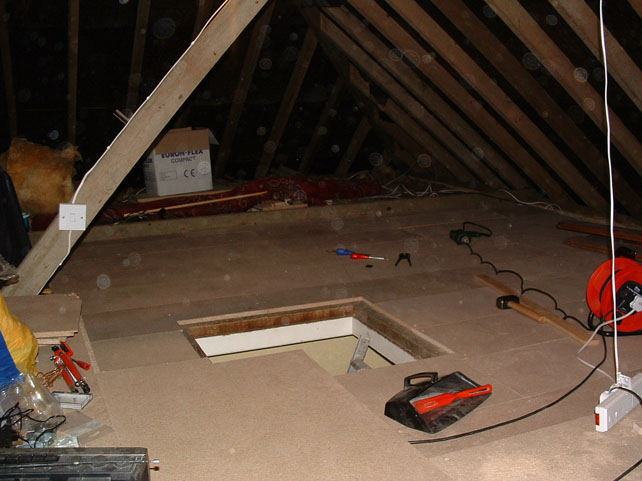
After laying the floorboards for the low section
|
|
|
|
Beams and insulation in section 3, side 2 (over kitchen)
|
|
|
|
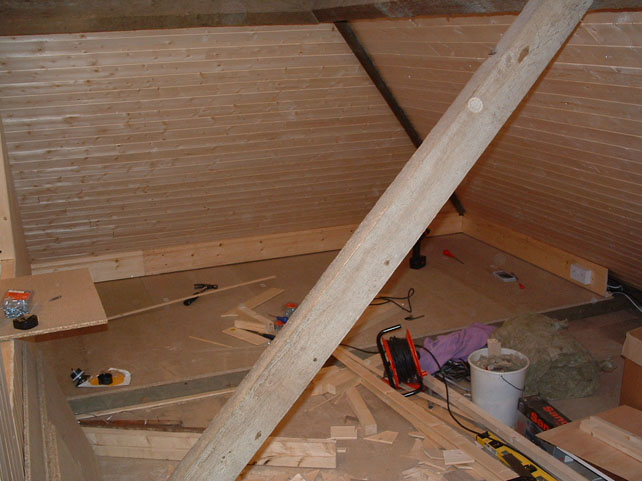
View over first half of loft
|
|
|
|
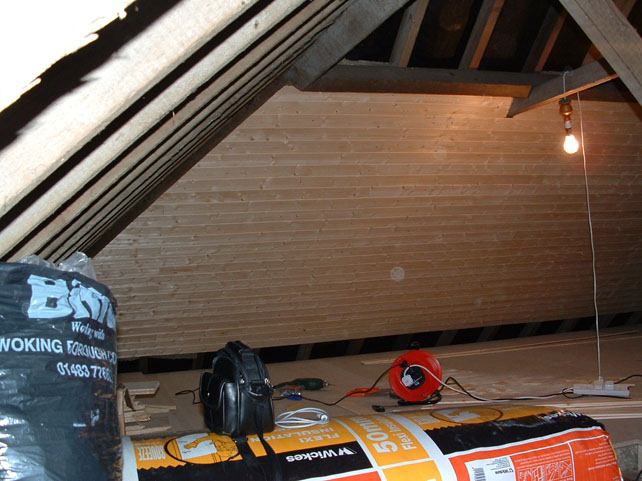
Starting to add cladding and insulation under the eaves
|
|
|
Cladding well under way (first side)
|
|
|
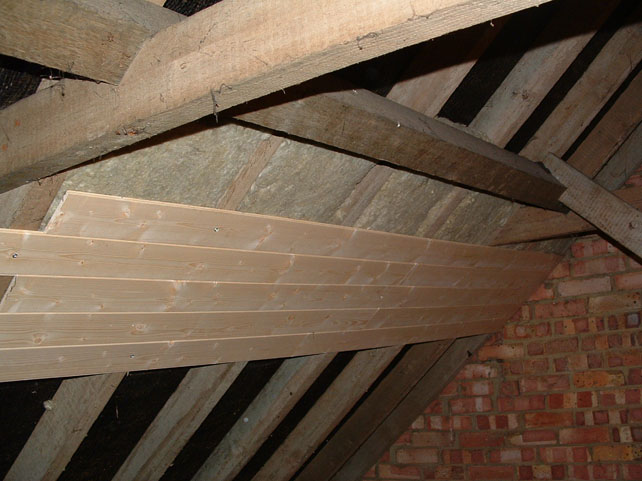
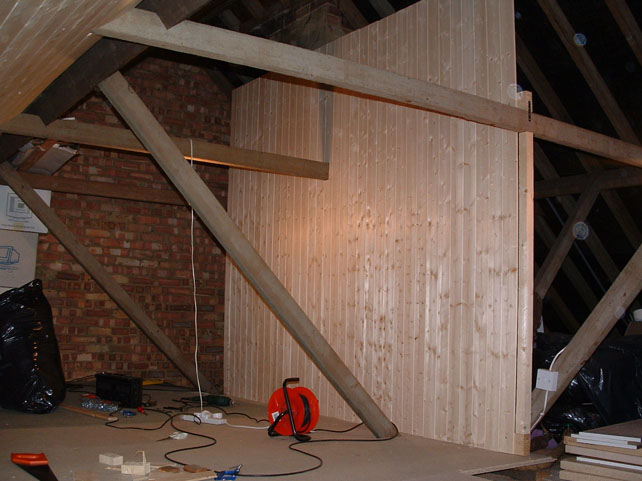
Completed cladding under cross beam on first side
|
|
|
|
Completed cladding under cross beam on first side
|
|
|
Completed cladding under cross beam on first side
|
|
|
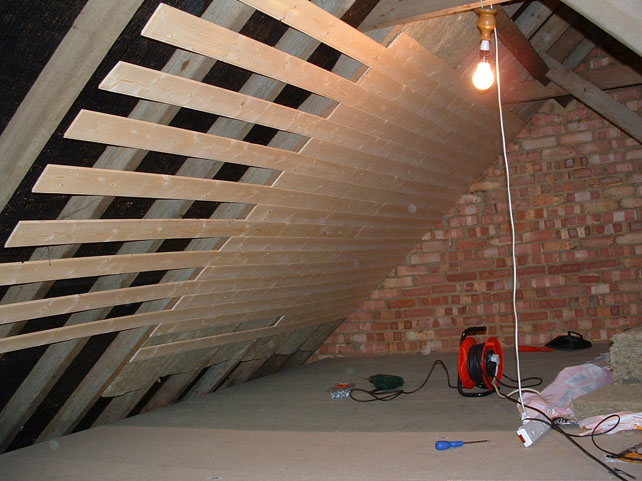
Beginning the cladding on the second sloping side
|
|
|
|
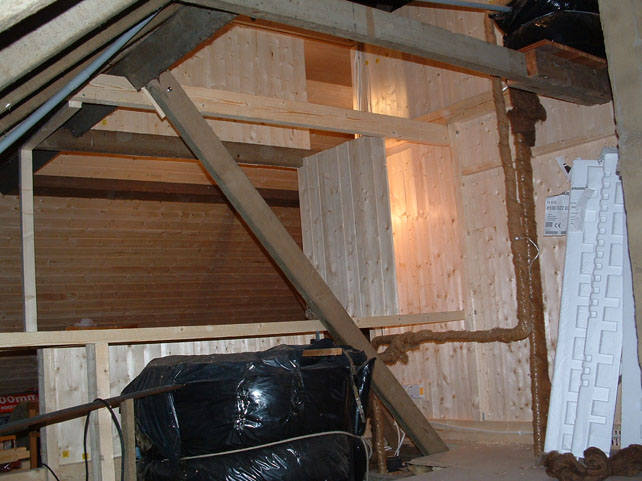
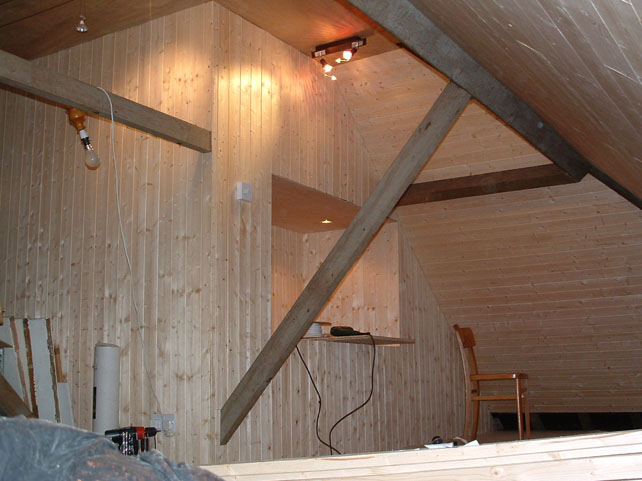
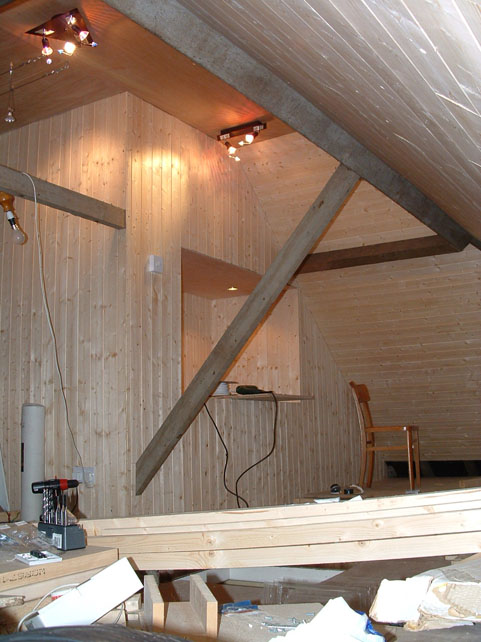
Starting the stud wall to partition the loft in two
|
|
|
To right of stud wall are watertanks and pipes
|
|
|
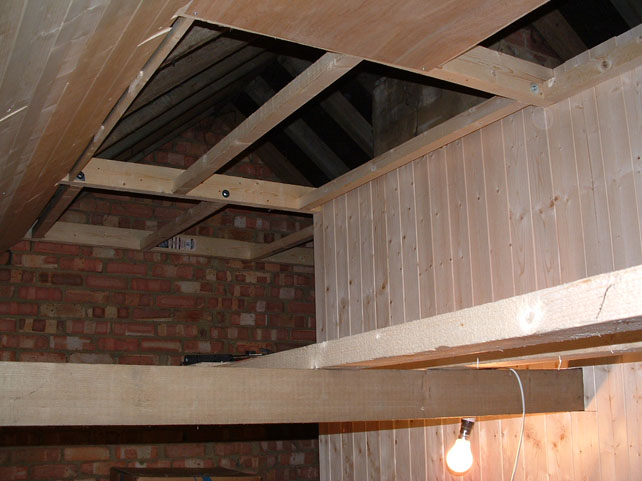
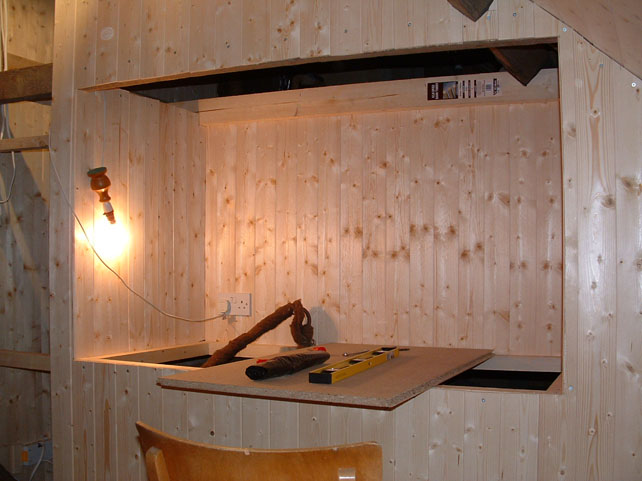
Starting the cladding above the cross beam (to height of false ceiling)
|
|
|
|
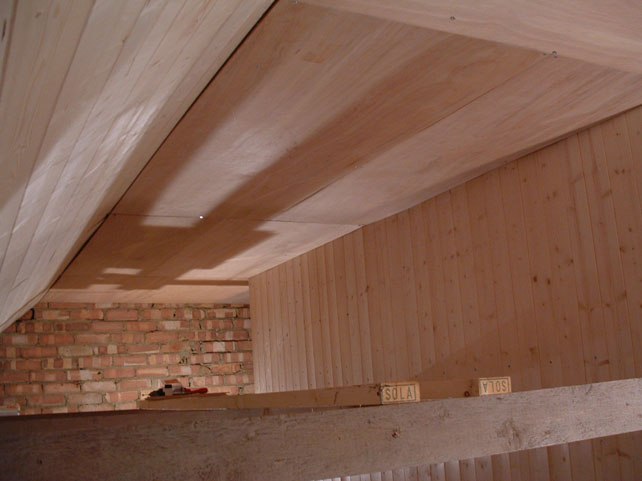
View of first pieces of false ceiling after fastening beams to hold the ceiling
|
|
|
|
Experimenting with skirting board to give a completed finish
|
|
|
|
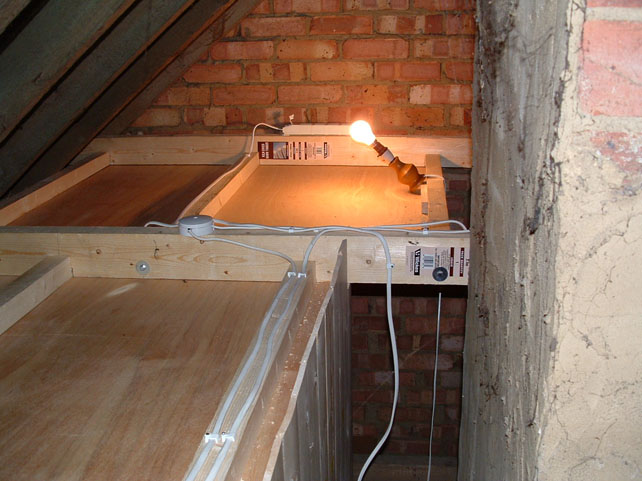
Fitting the wires and junction boxes for the lighting ring main
|
|
|
|
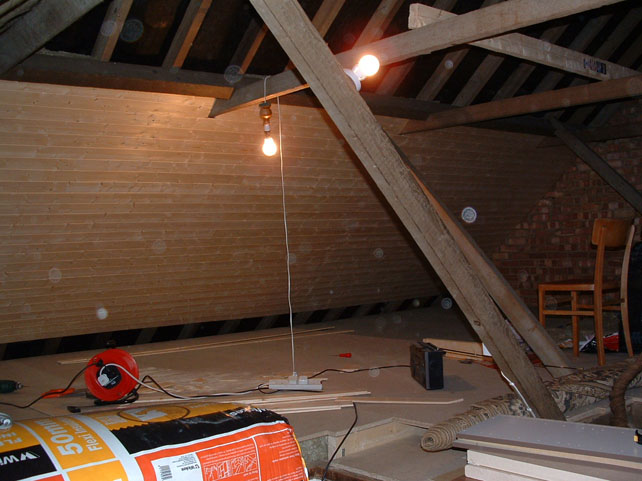
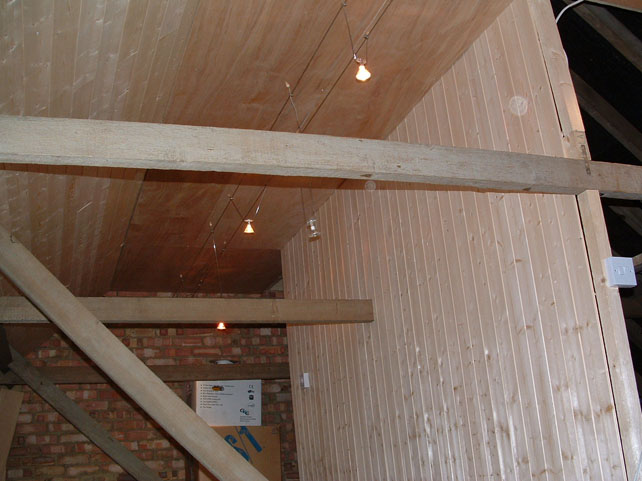
Light constists of 5 12V bulbs suspended from two wires
|
|
|
|
Second light over the lounge section
|
|
|
Third light over the office section
|
|
|
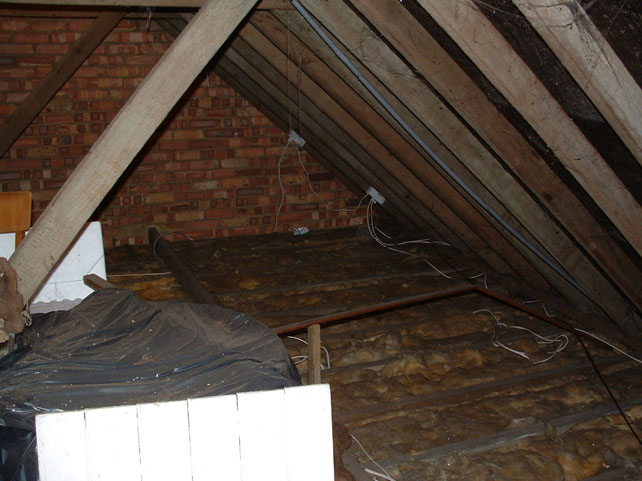
Sections 1 and 2 on second side of loft before work started
|
|
|
|
Sections 1 and 2 on second side of loft before work started
|
|
|
Laying the beams for sections 1 and 2 on second side of loft
|
|
|
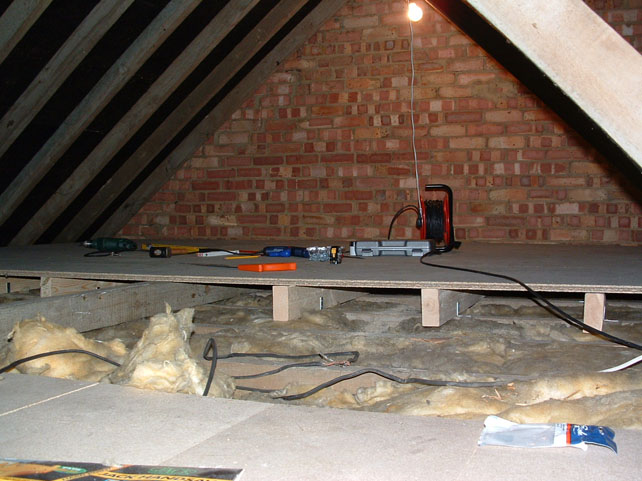
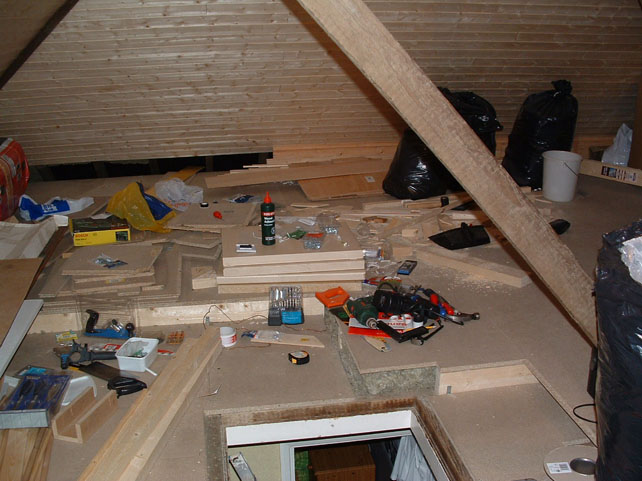
View of tools normally lying around and in constant use
|
|
|
|
Laying insulation between beams of section 1 and 2 on side 2 of loft
|
|
|
Laying insulation between beams of section 1 and 2 on side 2 of loft
|
|
|
Laying floorboards for section 1 and 2 on side 2 of loft
|
|
|
|
Floorboards for section 1 and 2 on side 2 of loft with water tank to left and chimney stack behind
|
|
|
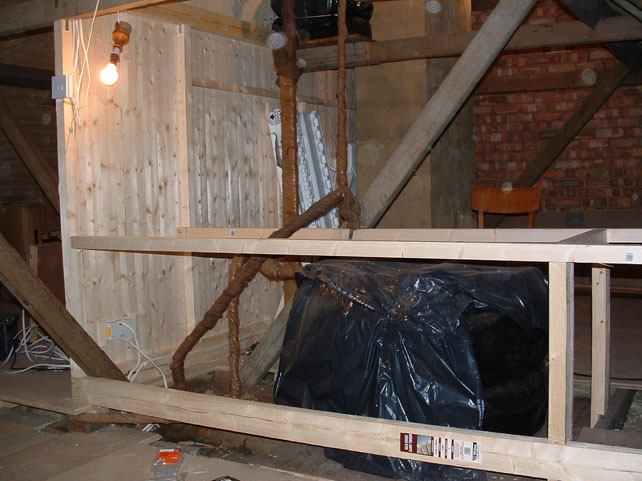
Starting second stud wall to partition loft with provision made for a shelf over the water tank (black)
|
|
|
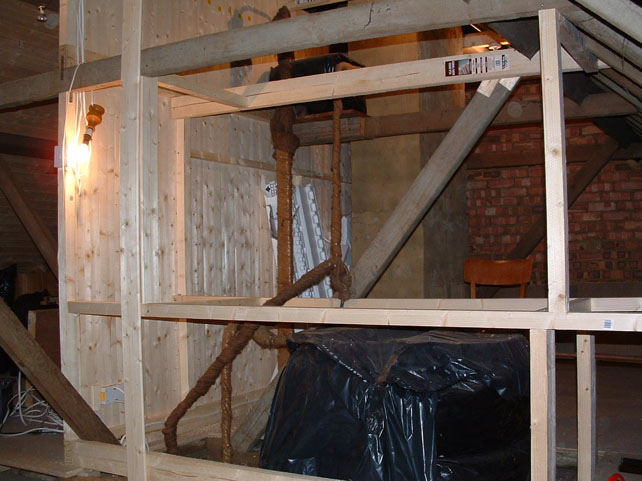
Building more of the supporting structure for the second stud wall
|
|
|
|
Adding the first bits of cladding to make the second stud wall
|
|
|
Stud wall from rear with first wall of cupboard build (on right above water tank)
|
|
|
View from front of first wall of cupboard over water tank
|
|
|
|
View of second wall of cupboard
|
|
|
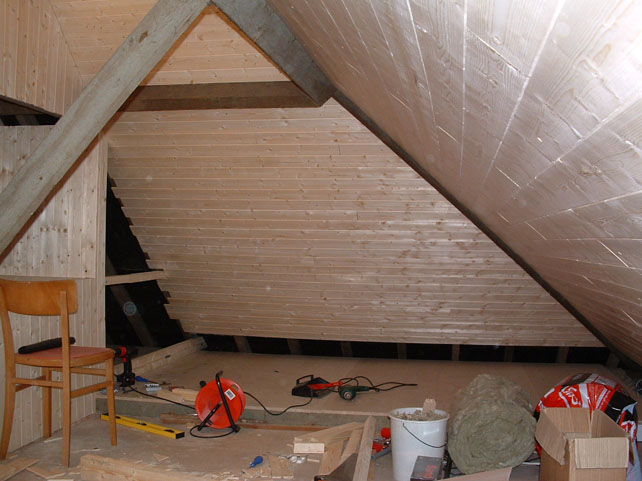
Adding the cladding for the third sloping wall (had to complete stud wall first)
|
|
|
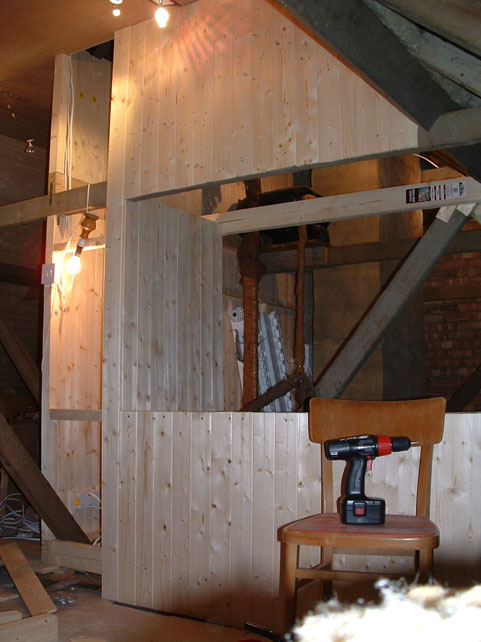
Completing the cladding on the stud wall to meet the cladding on the sloping roof
|
|
|
|
Adding the back wall to the cupboard
|
|
|
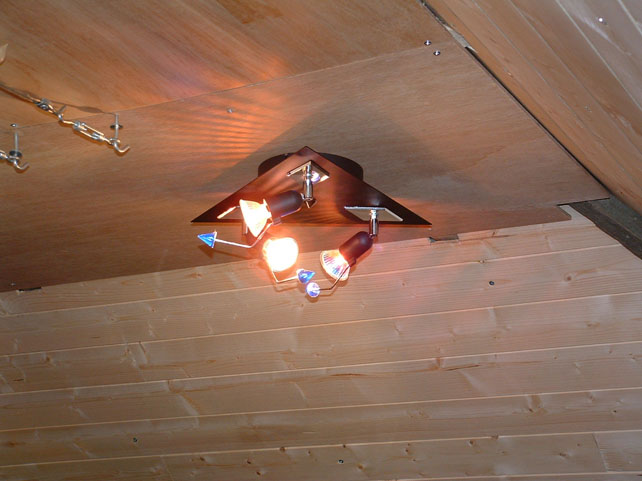
After adding the ceiling to the cupboard. Just had to fit some spotlights in there too!
|
|
|
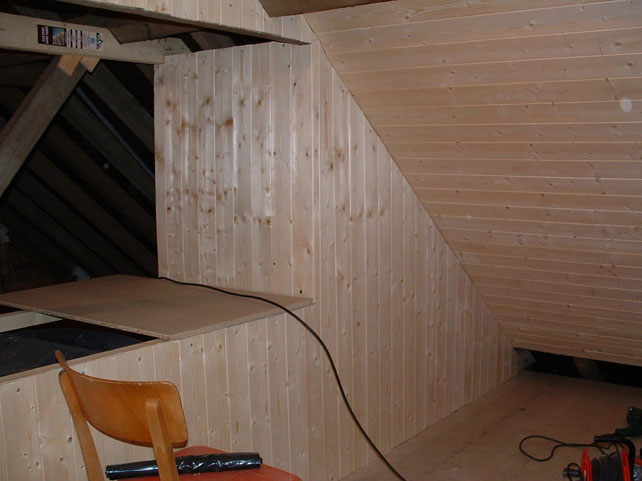
Another view of the second stud wall and cupboard
|
|
|
|
Fitting the skirting board over the kitchen roof
|
|
|
Fitting more skirting board
|
|
|
Due to different floor heights, the skirting board does not join here
|
|
|
|
Adding cross supports to support flooring (necessary due to design change at last minute)
|
|
|
Floor level under saw / hammer was lowered hence need for extra flooring support in previous picture
|
|
|
Fitting more skirting board around the lower section
|
|
|
|
More skirting board shots
|
|
|
The old beams were sanded to remove dirt and splinters, washed and then stained with oak stain
|
|
|
Stain colour goes well with the pine cladding
|
|
|
|
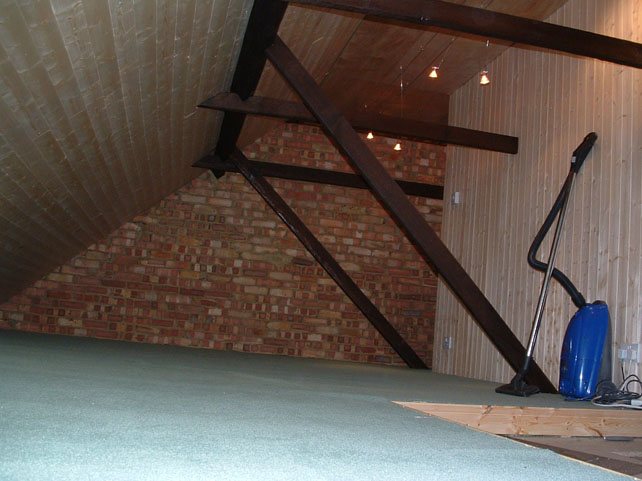
After fitting the carpet to side 1 of loft
|
|
|
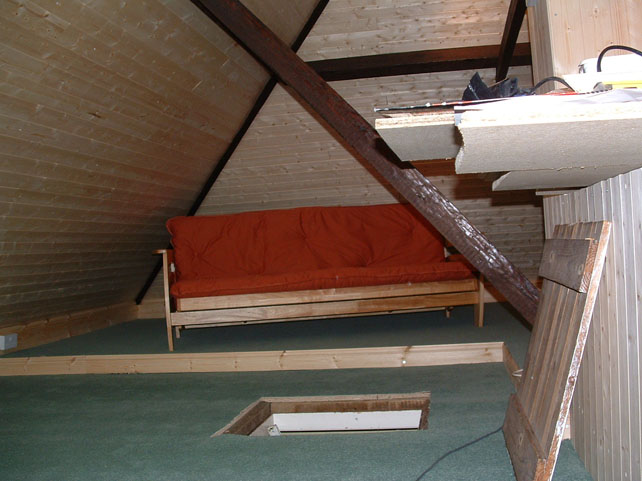
Assembling the futon in the lounge area (over guest room)
|
|
|
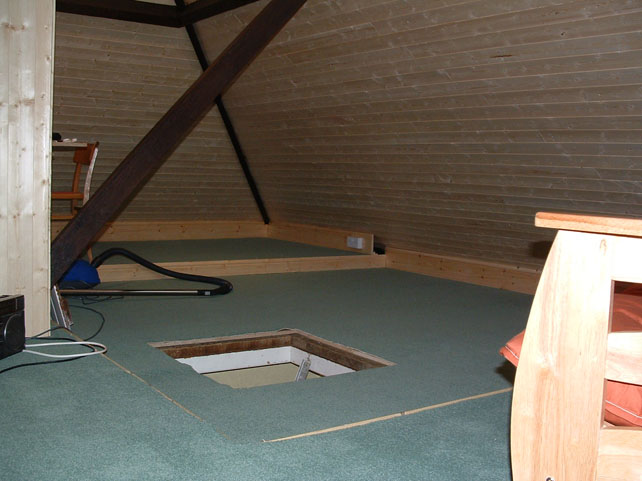
After fitting the carpet over the lower area and the office (over kitchen)
|
|
|
|
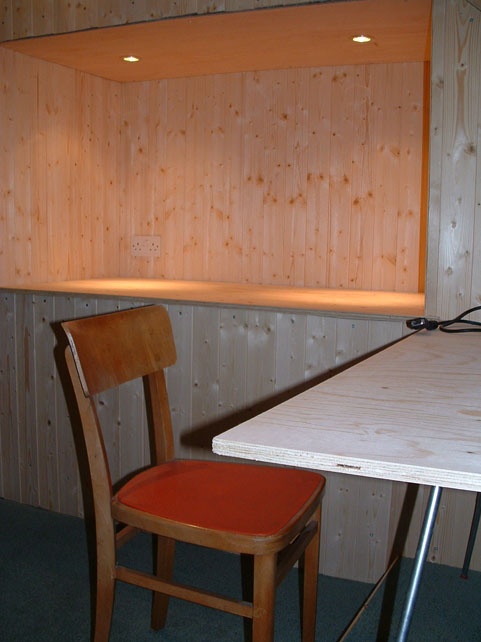
After fitting shelf for cupboard and experimenting with desk in office
|
|
|
View into cupboard showing shelf, lights and socket (another late addition)
|
|
|
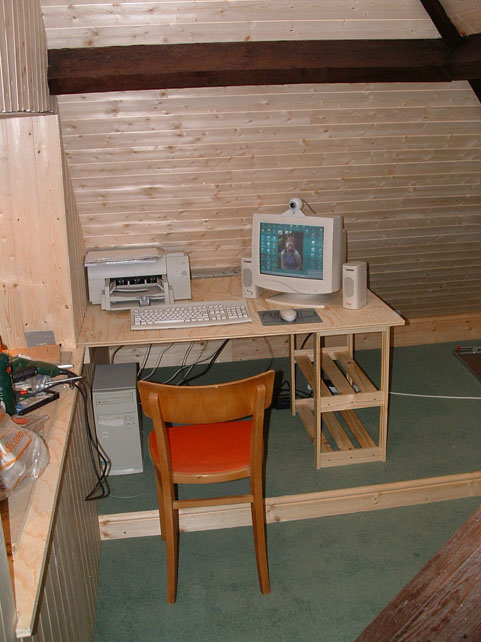
Final product after building the desk from a bookshelf and piece of wood and moving my computer upstairs
|
|
|